Week 1
What is a successful story?
- one that has a message.
- has an impact on someone, good or bad.
- is descriptive, to help visualise what is happening/how things look.
- helps you learn something.
Juxtaposition - this is when contrasting objects, ideas, images or descriptions are placed next to each other in order to emphasise their difference. It can be very obvious or subtle.
As an activity we went around the university capturing still images of what we thought were good examples of juxtapositions.

The carpet was clearly dry, why is there a wet floor sign? Can a carpet even be slippery?

There is a mix of dark, red, old brick style fusing with a modern building of classic grey and whites.

There is an ice-cream cart in the dark, gloomy basement, but ice cream is supposed to be happy and remind us of sunny times, why is it being stored in such a scary place?

Why are there trash bags outside of the bin when the bin is empty?
The image to the right is one I took a few weeks ago. I think this is a good example of a juxtaposition as the background is dark, the trees have no leaves but yet here is a bench covered with bright flowers.

Does the mirror show their true feelings?
In the mirror one is smiling and one is frowning while in person that is switched, does the reflection show the way they are truly feeling on the inside? are they secretly happy/sad while showing the opposite.

Wk 3 - practice with DSLR outdoors
In this lesson we learned about the basic tools on a camera (DSLR) and how to use it for photography. We learnt about ISO, shutter speed and aperture as well as different lenses. We then went outside and took pictures, playing with the aperture and shutter speed. Below show my favourite pictures from the day:


Some of the photos were overexposed due to the aperture being to high as well as the shutter speed.
To get a good photo one must find a nice balance between shutter speed and aperture, based on the desired style.
A small aperture will cause the depth of field to be larger thus more things will be in focus. A large aperture has a small depth of field, making the area of focus on a smaller area.
A low shutter speed means that movement will blur, less sharpness from the image. A high shutter speed will capture movement and make it sharper.


These two photos are overexposed, the shutter speed might've been to low, although we can see the image above is still sharp and in focus so it might be that the aperture is too high (or the ISO too high). The image to the left however seems a bit blurry so it may be more that the shutter speed is too low.


The above image I like but some people may say it is too underexposed, caused by the shutter speed being too high, the iso being too low or the aperture being to small. However, I do not think it is the shutter speed being to low because the image is very sharp and in focus and the person was moving quite a bit, but isn't blurred.
The above image shows motion blur, caused by having a low enough shutter speed, the car in the background is blurred because the camera wasn't quick enough to capture it.. however if I turned the shutter speed up it would've been sharp and in focus.
Wk 4 - studio photography
In this lesson we learned about how to use the studio at the uni. How to work the studio lights, background, the different Portrait Lighting positions, and more.

Every time we changed the lighting positions we had to use a light meter to measure the light from the sources and adjust the camera accordingly, so as to not over/under expose it. We learned about the different rules that take place in a studio, such as how all exposed wires must be covered with a mat.
Below show some photos taken in the studio.
left image showing basic Portrait Lighting positions...many of which we tried out in the studio.


Above is an example of the split lighting style. The light is placed shining directly to one side of the model, in this case the left side of the model, the camera is directly in front of the model and they face the camera.
Frankly sir you look awesome in these pics if you ever write a book 20/10 should be your author pic.


Above shows an example of the loop lighting style. I captured this photo. The light is placed facing the model at about a 30 degree position (in between the camera and the side of the model).
Wk5 - studio objects
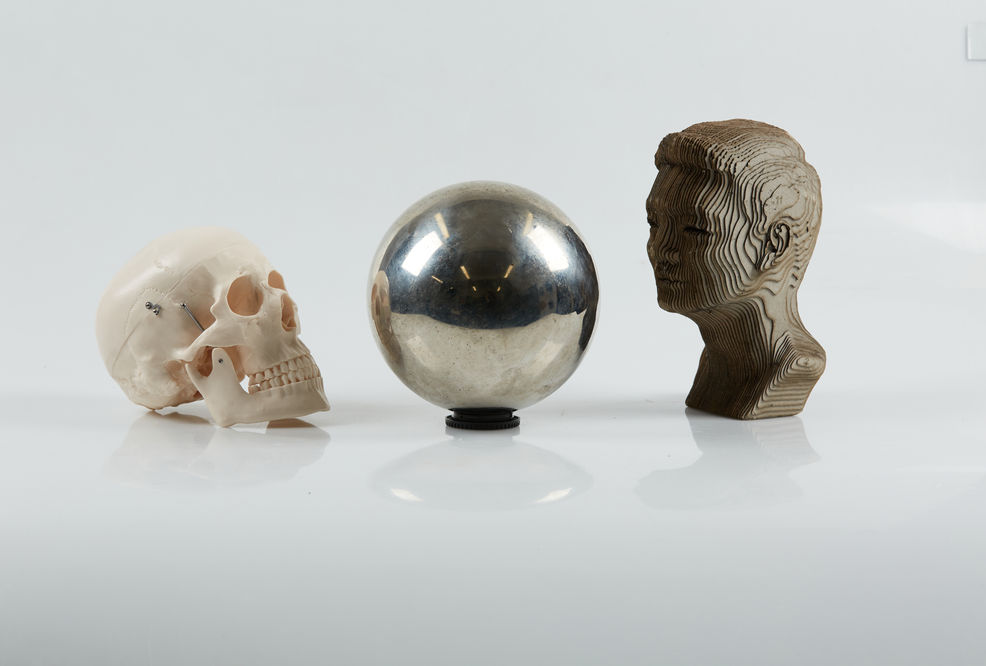
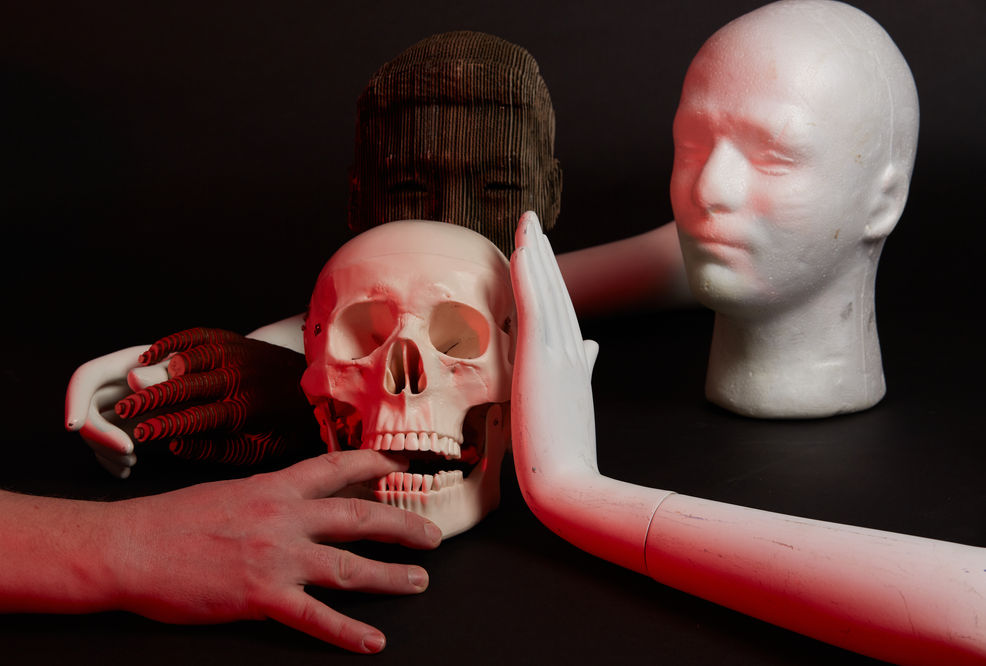
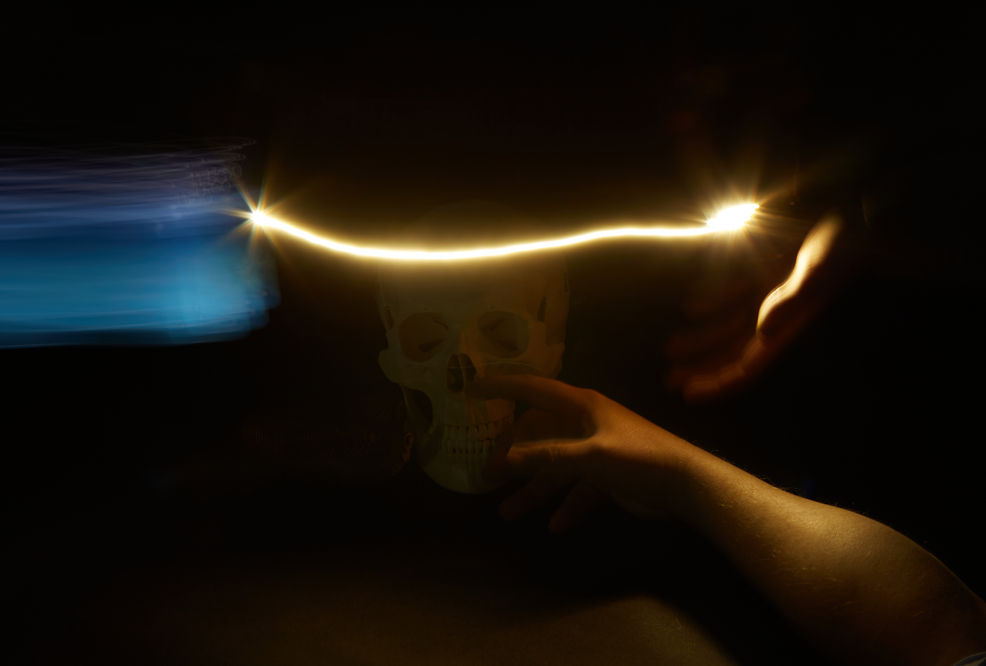
In this lesson we learned how to light objects when photographing them. We practiced using objects we found in the studio, a skull, reflective ball, head sculpt and mannequin hands. The reflective ball gave a cool, distorted perspective as it reflected what was around it in the studio, however this was also difficult cause the lights were also reflecting, making it too bright in specific parts of the photo. After a little while we started playing with long exposure photography, where we had the shutter speed as low as 10 seconds long and we used our phone flashes to create patterns. This was interesting because the only thing the camera sees is what is being lit or the path the light took.
Below shows some of the photos taken.
ASSIGNMENT 1 - STORYBOARD
For this assignment I followed the fourth brief 'Your own path'. I used the legend, frequently told in asian countries such as China, Japan and Korea, as inspiration and made a photographic storyboard depicting this legend in my own way. The tale, known as the 'Red thread of fate', tells us that there is an invisible red thread around the finger of those who are destined to meet each other as they are their true love. The two people connected by this string are destined lovers regardless of place, time or circumstance, the string can stretch or tangle but never break.
My story involved a woman (the main character) and how she eventually met the person connected to her red string. We see her on her own, entangled by the string, we see her connected to her soulmate but not knowing who he is, we see her with another wanting to connect but it not being right and then finally we see her meet her soulmate. Throughout the whole story she is connected to her soulmate no matter what...the string is always shown.
I used my own DSLR camera (a canon T5i), a 10-55mm lens, and I split my photoshoot into two days. The first half when the main model was alone, this took place in my kitchen against a blank wall (make shift studio?), using phone lights as well as a small portable light I own (LUME cube) to light the scene. The second half, with a total of 3 models, took place in the park across the street (Boston Manor park) and I used natural light to light the scene. None of the pictures have been edited, they are the original pictures all I changed were the settings on the camera manually. Although I was thinking of editing them I decided that I wanted to keep the pictures exactly how they were taken.
I am quite pleased with the way the shoot went and I think it depicts the legend well. I love this story and decided to use it as it means something to me, I believe everyone out there has there own version of a red string whether it be a friend, lover or just a family member.
In order to decide how to lay out my images in the assignment, I printed off all of my favourite ones and lay them out on my desk and I put them in an order I thought looked well, to make sure the story made sense. I then brought in a couple of my friends to look at the sequence of images to see if they understood the story, which they did.
The images below show how I lay them out to decide the order
Below show a few pictures my friend took of me while I was doing the photoshoot in the park. We were interrupted by a puppy a couple of times but thats okay cause he was really cute and fluffy.


RED THREAD OF FATE


Week 9 - stop motion
Using the app "iMotion" on my phone, I took a series of photos to make the stop-motion animation below. By using the onion slice technique I carefully took pictures from the same spot and after each picture moved the record slightly.
Assignment 2: research and ideas
I looked at a few stop motion artists, including Jan Svankmajer, his films are typically very surreal and filled with dark humour. He uses claymation and pixelation techniques. I looked specifically at his food movie, depicting humans relationship based on class with breakfast lunch and dinner. Many of his films have food elements in it.
Jan Svankmajers, food film from 1992
This artist typically uses no dialogue in his films, and his sound effects are very dramatised. I like this effect and I think I will use it in my stop motion.
I also looked at a very famous style of "stop motion cooking" where they use everyday objects to make into food, or to look like food. The artist known as PES is very famous for this, I like this idea of turning these objects into something that look like food.
The video to the left shows a test video I did on somebody walking. I used the app motion to do this, for my final I will use my camera. I think I will use this style in my animation.
ASSIGNMENT 2 - FINAL
For this assignment I used my DSLR canon t5i camera to take pictures. I used a tethered capture to my computer in order to see the pictures and if they turned out how I wanted. I used my sister as the model.
My stop motion is a day in quarantine in the flu pandemic of 1918. I made sure that I didn't show any modern technology and also stuck to activities that I researched people did lots of in the pandemic of 1918, reading and baking included most of them. Luckily I had this old big bag of flour that I used in one of the shots as in those times all the food was sold in large quantities due to the pandemic.
The ending is of the character placing a white scarf on her door, this is to show that the virus is now inside her hom. I read online that some people did this so that others knew not to come and visit.
After I took all the shots I wanted I imported them into After effects and I put together the order in which I wanted. I added a grain and tint to it in order to get an older film look. I then recorded sound effects using my phone recorder and some objects. Some sound effects were recorded using the same objects in the film, for example for the water I actually poured water, and for the cutting of the fruit I actually cut a fruit, but some sounds were recorded differently, for example for the bread cutting I recorded myself cutting a piece of cardboard and for the dough I recorded squishing of play doh.
The voice over I wrote and got my musician friend from the uni to record as she has a microphone at home.
A big struggle I had was maintaining a constant light source as I was using natural light so in some shots they flicker, but I found that the tint helped hide this a bit.
Below show some pictures of the set up for the tethered capture and how I edited it

To the left: how I took my stop motion
to the right: microphone and how the voice over was recorded
below: the after effects program I edited in


